[NL] Als kind spaarde in stickers. Hele vellen en kleine albumpjes plakte ik samen in een schoolschriftje. Ik bewaarde mijn stickers als schatten, tot mijn schriftje uitpuilde van mijn voorraad. Nog steeds vind ik stickers leuke dingen. Ik hou ervan om de wereld te versieren. Stickers horen daarbij. De laatste tijd zag ik steeds vaker kunstenaars zelf stickers maken. Ik dacht dat het moeilijk was. Niets bleek minder waar. Ik dit blog laat ik je zien hoe je in een paar simpele stappen je eigen prachtige stickers maakt.
[ENG] As a kid i collected stickers. I didn’t use them. O, no. I put them all together in a little book. Sitting there like little treasures. I collected more and more stickers untill my book hardly could hold them. Still i didn’t use them. I only looked at them every once in a while. They were my treasures. I still like stickers. They make the world a more colorful place. Lately i saw several artists making their own stickers. I thought this was pretty hard. On the contrary. Let me show you how you can make your own stickers in a few simple steps.
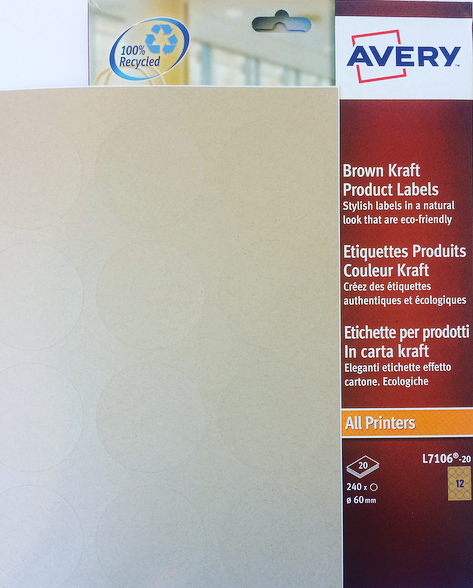
[NL] Wat je nodig hebt, zijn een aantal vellen bruine kraft-stickers (etiketten), bijvoorbeeld van bovenstaand merk. Daarnaast heb je (witte) gesso en acrylverf nodig. Eventueel kun je stempels en acryl-inkt gebruiken.
[ENG] You need some brown kraft product labels (sticker sheets) to start with. You can work on them with acrylic paint, acrylic ink, (white)gesso and stamps.
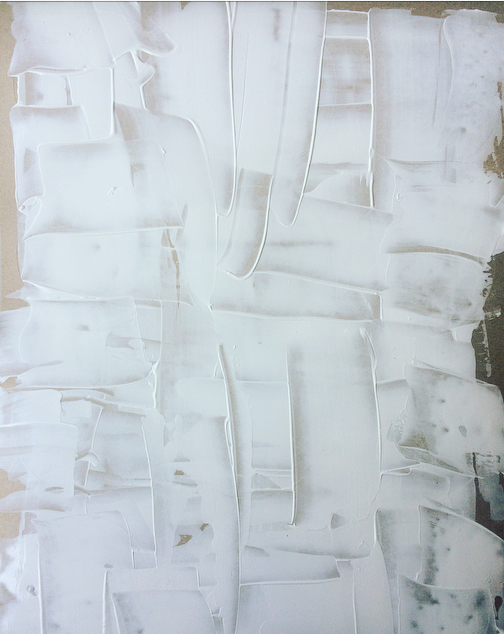
[NL] Smeer het vel in met een dun laagje (witte) gesso. Dit zorgt ervoor dat je verf zo meteen beter blijft zitten. En door de witte onderlaag komen je kleuren mooier uit.
[ENG] Apply a thin layer of (white) gesso. A layer of gesso makes your paint stick to the sticker sheet. A white layer will make your colors pop.
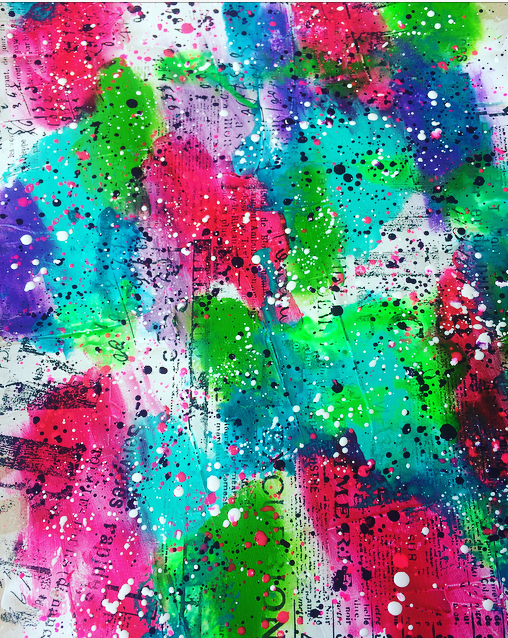
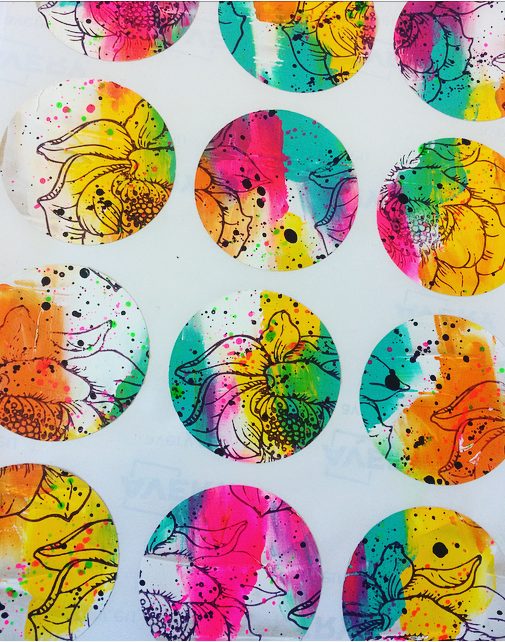
[NL] Op de witte gesso kun je elk willekeurig design maken met acrylverf, acryl-inkt en stempels.
[ENG] On top of the gesso you can make whatever design you like, using acrylic paint, acrylic ink and stamps.
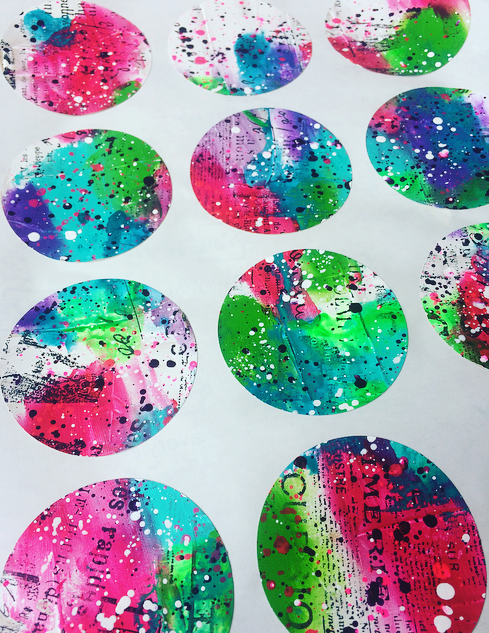
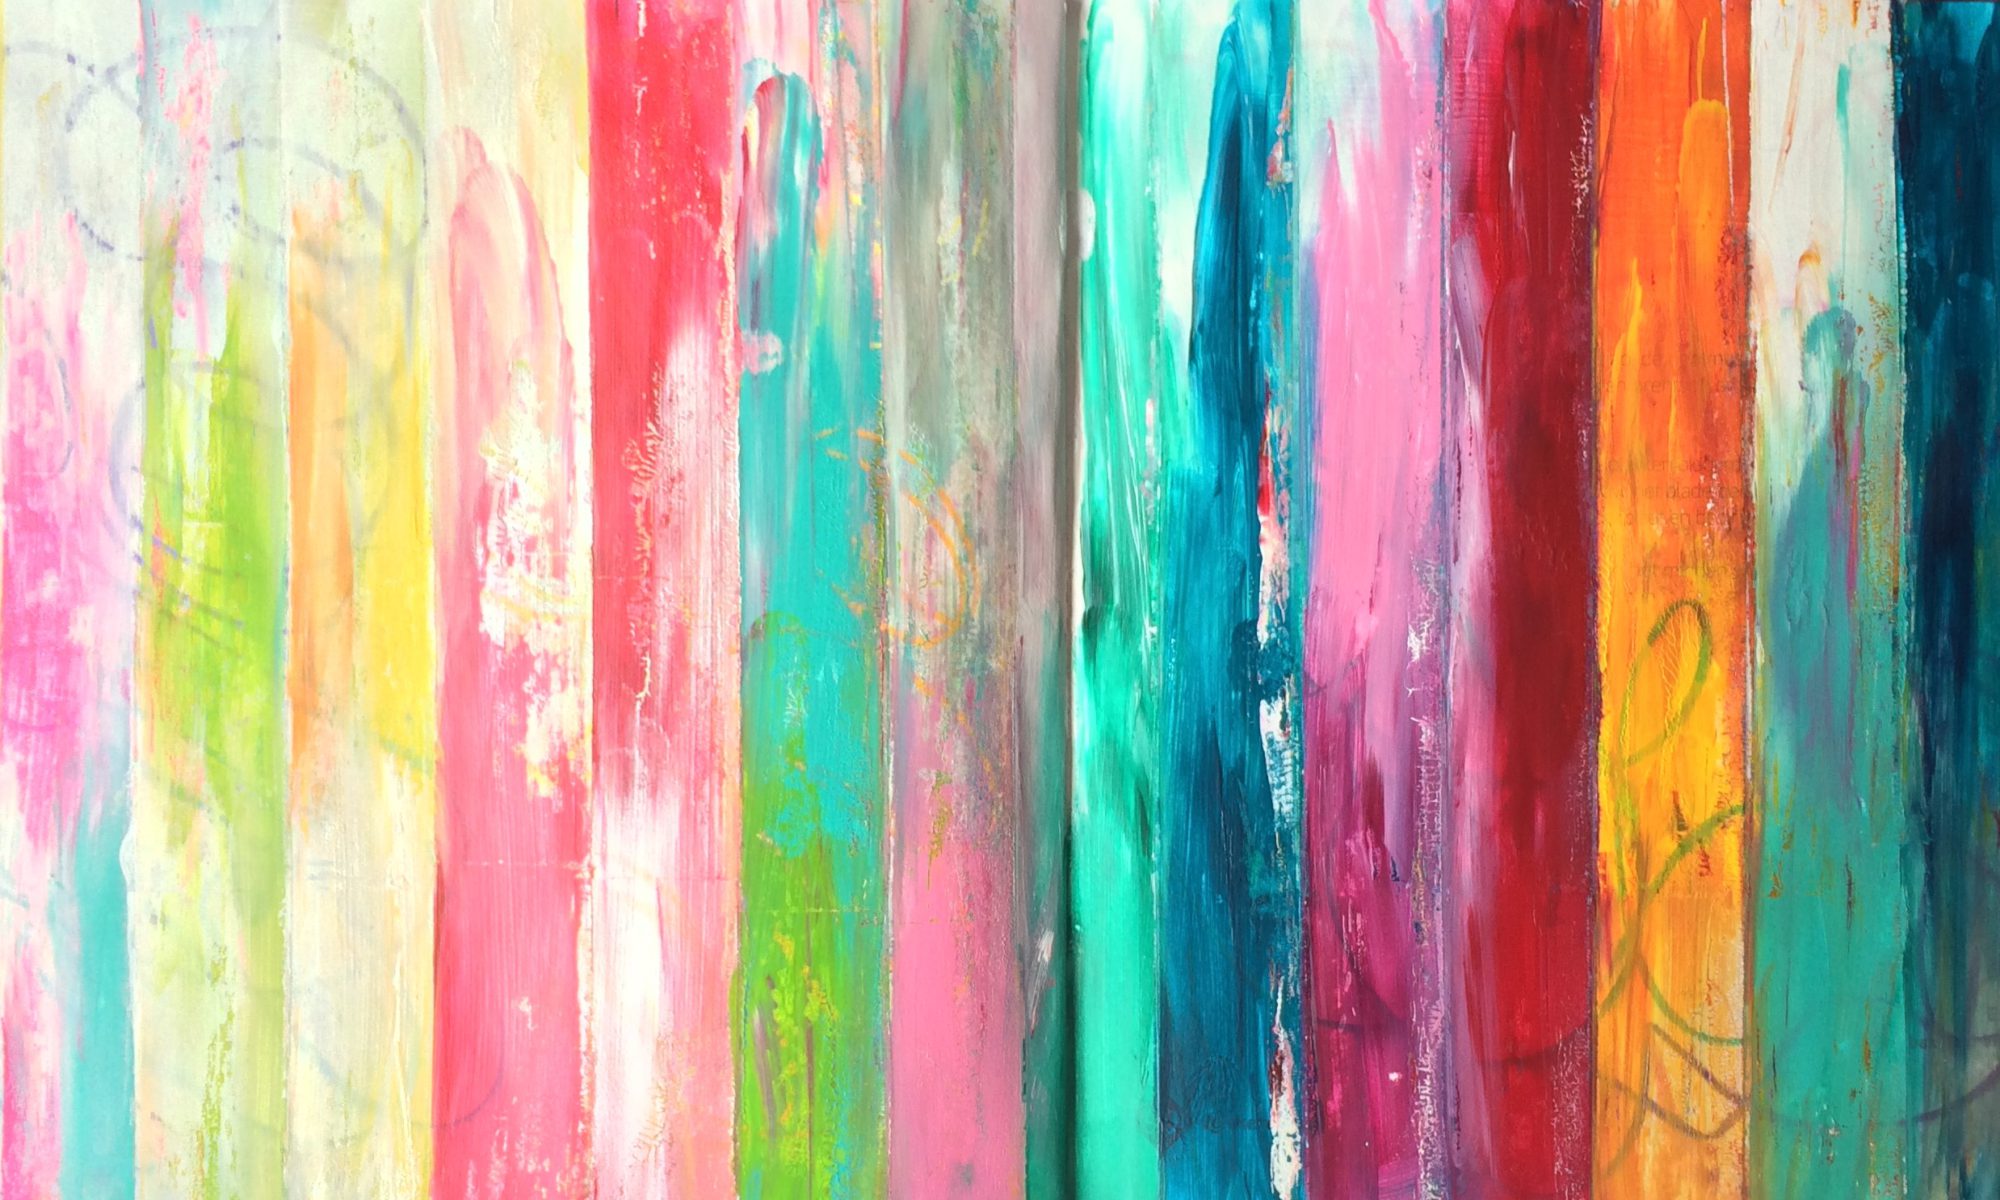
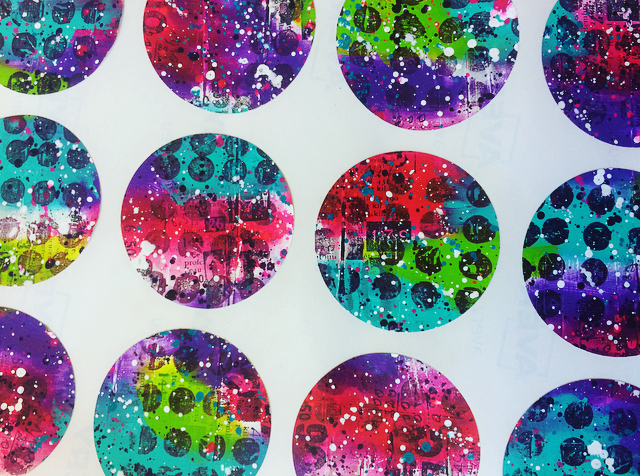
[NL] Als je klaar bent met schilderen, laat je je vel goed drogen. Daarna trek je het stickervel (achtergrond) los van de ronde stickers. En, voila, je hebt je eigen stickers! Maak gerust diverse setjes. Dit is heel verslavend! Mijn resultaten zie je hieronder.
[ENG] If you’re done painting, let your sheet dry completely. Carfully remove the sticker background from your sheet. And, voila, there are your own stickers! Go make a couple of sheets, as this is verry addictive. You can see more of my results below.
THANKS FOR READING MY BLOG
HAVE FUN CREATING!
Well I know what I’m buying this weekend!!!!!! Thanks for sharing!!!